Jewelry photography requires a lot of equipment. Your budget can help you decide where to start and which to get first. Below, we listed some basic equipment you will need when starting. You can improve on them as you proceed.
“Whatever is worth doing is what doing well”, they say. You should be ready to shell more bucks for your business if you love the sight of more ROI. Nonetheless, if you are not wishing to open your wallet wider, basic equipment such as a Camera, Lighting source, Table, Tripod Stand, Clamps, backdrop, etc. are more than enough to get you rocking as a beginner.

Let’s take a look at them one after the other:
1. Camera
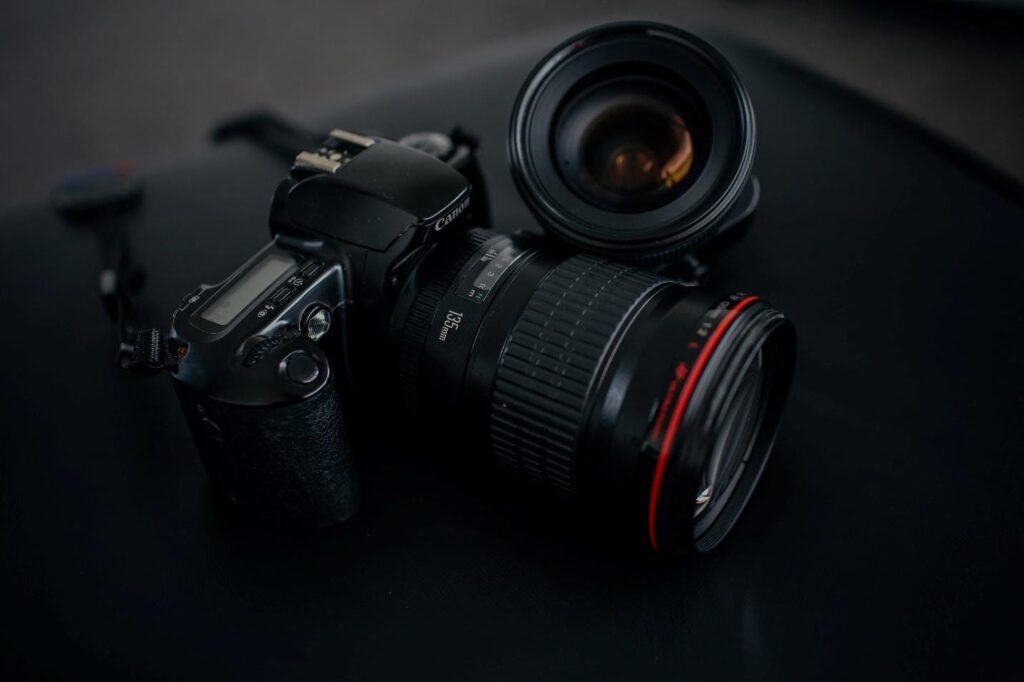
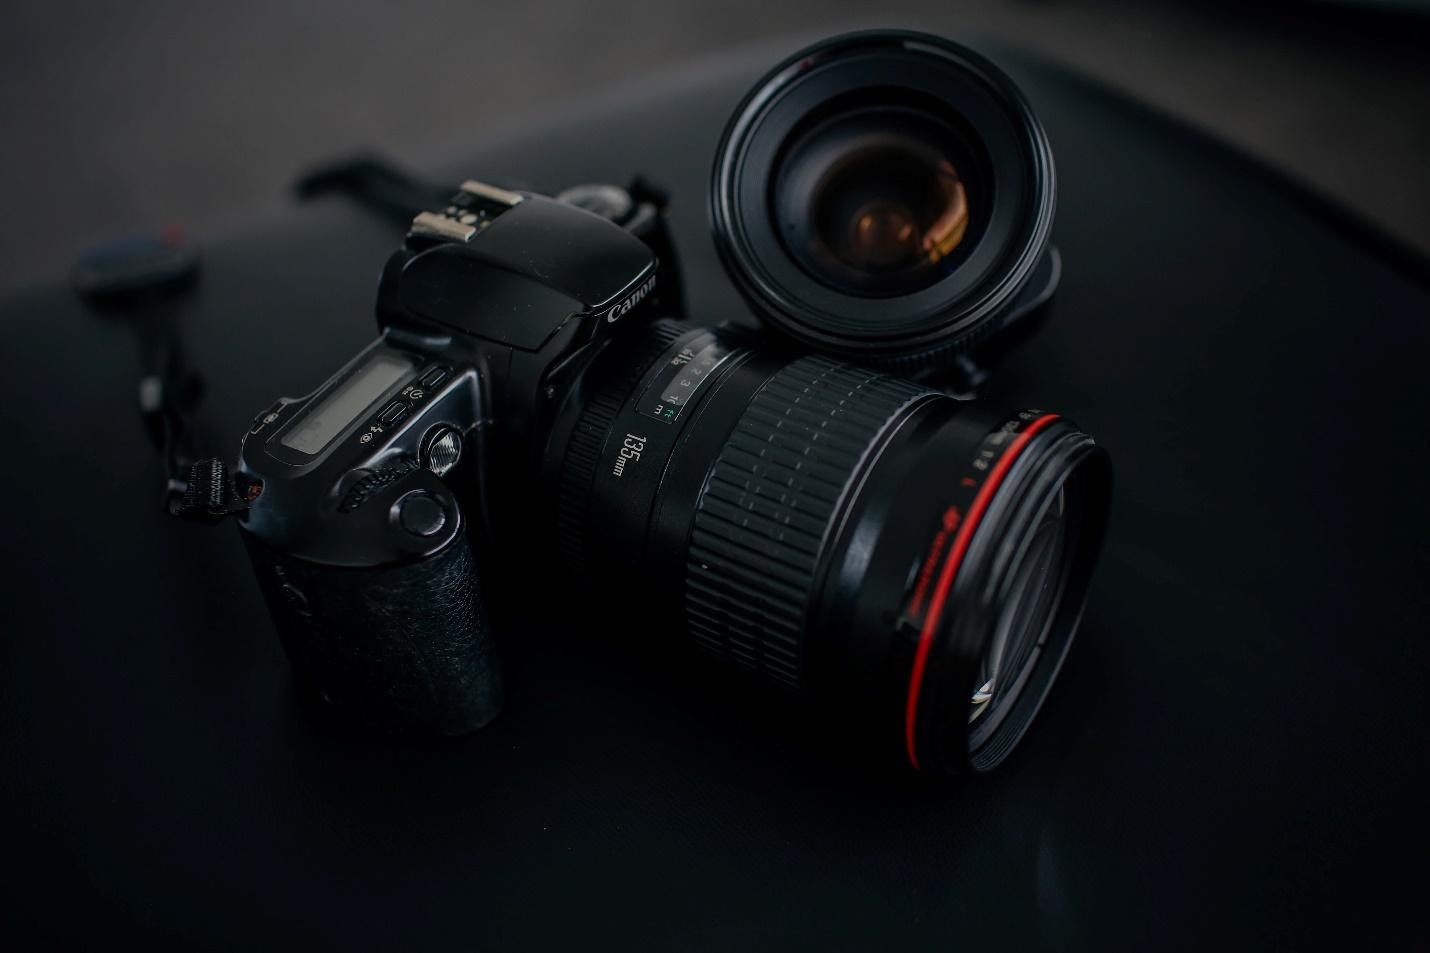
Who says you need the most expensive camera to take make great jewelry photography? In all honesty, it isn’t a must you get one as a starter. We now live in a digitalized world, where handy gadgets such as smartphones can do incredibly what their big brothers do.
Although a DSLR camera is the most recommended lens to shoot, you don’t need to wait until you get one before bringing your business to life. You can make that perfect shot from your Andriod phone or iOs devices – a smartphone. However, if you ever get the chance to buy one, take your shot to take even better shots.
2. Tripod
A tripod is one of the cheapest pieces of equipment on a jeweler kit list. Yet, they constitute some of the little things that matter most in jewelry photography. Yes, you can handhold your camera or smartphone, but the result will most likely be undesirable, no matter what lighting you put in place. Why not avoid all the shakes once and for all.
A tripod is your best bet at taking steady shots. When in place, you can optimize your camera ISO setting and improve the quality of your photography. Try to maintain the same spot for your tripod stand even on different days. That will guarantee the consistency your customers want to see.
3. Lighting Source
Perhaps one of the most important parts of photography. Your camera will capture what it sees and your lighting source determines that. The more light you get on your jewelry the better the image produced by your camera.
You can get natural lighting in a room via a large window next to a wall. That should be a good setup. But if you can’t get natural lighting where you are, there are artificial lighting sources on the market you’d want to try out.
You shouldn’t get your hand dirty with high-end photography lighting kits from the start. You may not need a led light and refractory from the onset. Try to be creative and try several tactics with your camera, and you’d be sure to master the game.
4. White Backdrop:
To avoid tampering with the color of your jewelry, you’d want to shoot on a white background. This is due to the reflective property of most jewelry. White more than other colors reflect light, which means your jewelry will be more lit on a white backdrop. But how do you set up this backdrop?
There is a different approach to setting up your shot backdrop. For a jewelry photoshoot, a piece of white paper folded in halves and stood upright can be all you need. Thanks to the size advantage. If you are planning to make numerous photoshoots on regular basis, you might want to consider getting paper sweeps. Paper sweeps are big rolls of paper used for creating different colored backgrounds. A white paper sweep is needed for the jewelry photoshoot.
5. Mannequin Bust
In jewelry marketing, presentation matters. A mannequin bust allows you to present your jewelry in the best way potential customers will appreciate. Rather than having them imagining how the jewelry will look out of the box, a mannequin bust for necklaces shows them how nice it will be on them.
A jewelry bust gives your product a realistic shape and some sense of elegance. The likely problem you’d face is that most busts are not available in white color, and making shots of your jewelry in a white background is the best. How do you go about this? It’s simple. Cover the mannequin bust with paper or cloth when ready to take shots. That’s the secret behind most of the presentable props with white background.
6. Cardboard
Using cardboard, you can create a jewelry clipboard. The reason might be that you have a piece of tiny jewelry that will look odd when shooting on a mannequin or you just don’t have one. So instead of waiting till the day you get one, you can take white cardboard and pin your chain on it from behind. You’d get the same presentability as using a mannequin, just the little glitch that you shoot on a paper.

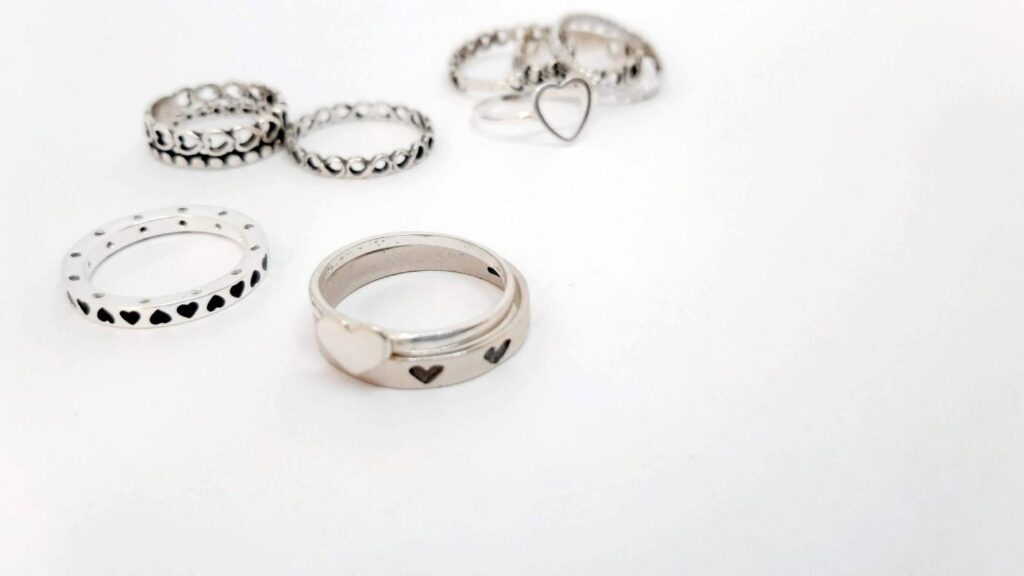
Other pieces of equipment include a table, glue dots, or double side tape, they will come in handy when trying to shoot a ring. You don’t want to shoot a ring laying flat vertically, a double-sided tape can help you get a horizontal shot of your ring from a nice angle. You can also use strings when trying to photograph earrings. Shooting your earring dangling can give one kind of ear-like impression that resonates with your customers, and that could be enough to make them buy.
Conclusion
That’s it. Pretty simple, right? Now you’ve seen you need neither a huge budget nor studio standard setup to start making quality jewelry photography. Except for the camera – if you don’t want to use your smartphone, everything you need is readily available around you. Why not start making those clicks and stop making excuses? The best time to start is now. Just make sure you scale up as you grow.
