Now you’ve just landed some of the best jewelry photography equipment, but still wondering where to start. The truth is, this equipment guarantees not great jewelry photography if you miss out on some important tips. As a starter, getting the best of these pieces of equipment can somewhat be challenging and your small reflective gemstone is ready to give you some sleepless night. Don’t worry we’ve gathered 5 amazing jewelry photography tips that will help you overcome days of bad shots.

Here’s the good news! Following these tips can give you magazine-quality photographs, and it all depends on how ready you are. No matter how tricky it seems from the start, you can master the art over time by following the tips below.
5 Jewelry Photography Tips
Tip 1: Do More With Macro Lens
One big mistake most jewelry photographers make is going for the best DSLR camera. DSLR are mirrorless cameras that are good at capturing life moments, outdoor and adventures. But how good are they for small reflective objects like jewelry?
There’s no doubt most DSLR cameras are equipped with a kit lens; a wide-angle camera with short zoom and a typical focal length of about 15 – 50mm. These lenses are not ideal for jewelry because of their size. A dedicated macro lens on the other hand is best at overcoming the challenge of small size and reflectability.
At a fixed zoom, Instead of setting up your camera magnification 0.5x size with a kit lens for photographing jewelry, a macro lens can give you a 1:1 life-size of your jewelry. Making all the fine details come to life and keeping the real focus where it should be.
Why not try a macro lens today? When trying to buy your next camera for jewelry photography, look for cameras with a dedicated macro lens, you will appreciate its effect on your gemstone appearance.
Tip 2: Be Tripod Steady
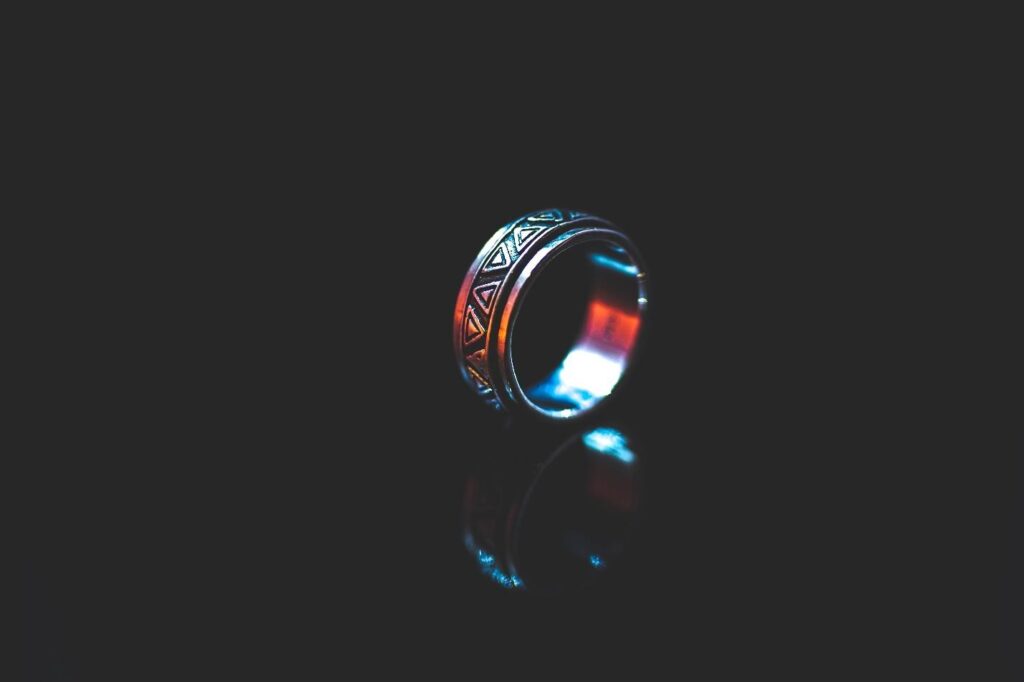
A sturdy tripod is all you need to avoid one of the most dreaded photographer’s nightmares- an unstable camera. The effect of an unsteady camera is a blurry appearance of the final product, especially when dealing with not-so-big objects like rings, necklaces, and earrings. A slight movement can break the look of your stunning gem piece.
Getting a sturdy tripod will give you peace of your mind, and you will be free from all setbacks that come with handholding your camera. The next paragraph explains few things you should look for in a tripod to get the best experience.
The Ball head; the advantage of a sturdy tripod with a ball head over other tripods is that it gives you the flexibility of taking a shot at several angles. You can easily adjust the angle by moving the ball head till you arrive at your desired angle of the shot. After that, you can lock the tripod at an angle to maintain stability. Thanks to its moveability and lock mechanism.
Arca swiss compatibility is another feature that makes jewelry photography easier. When you have a tripod with an Arca Swiss tripod plate in place. You can easily slide your camera up and down the tripod ball head in your desired direction. A spirit level is another handy part. With it, you no longer need to worry about leveling the tripod manually.
Tip 3: Lit-Up Evenly
You can use natural lighting to lit up your jewelry thoroughly if you so wish, but that will never give equal results as investing in a standard photography flash lighting setup. Using the sunlight through a larger window can give you the perfect illumination you need, but keeping out reflection can be somewhat tricky. With macro photography lighting kits, you can make all reflections disappear.
With a single purchase, you get a complete lighting suit out of the box. Most setups come with all necessary accessories such as fabric diffusers, stands, umbrellas, and a flash trigger that can be attached to your camera, most times with flash heads and continuous light.
Check out some of the best Lightboxes complete setup that matches your pocket and start basking in the euphoria of a great jewelry photography moment.
Tip 4. Be Aperture Accurate
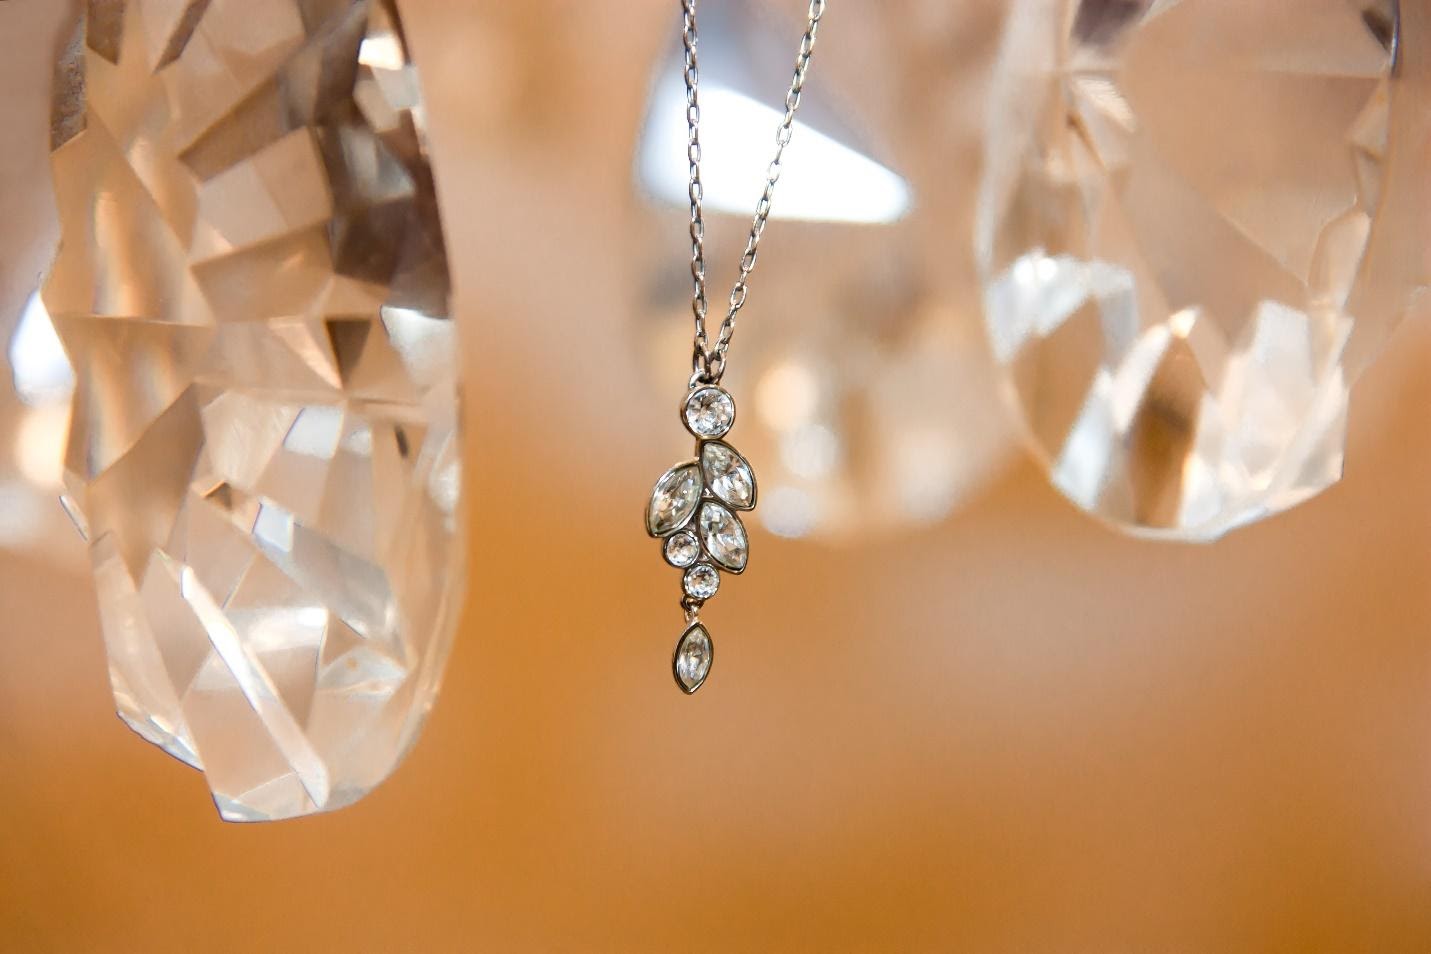
There is this term called “bokeh” in photography. It occurs when more light enters the lens due to a larger aperture, causing most of the focus to fall off while only a small part of the object remains in focus. Often, you come across photographers teaching about the bokeh effect. But when it comes to jewelry photography, there’s only one lesson to learn; “avoid the bokeh effect”
Although the bokeh effect doesn’t impair portrait photography, it does tell badly on small reflective objects like your pretty gemstone. A smaller aperture is ideal for jewelry photography to capture the piece in its entirety. Since a smaller aperture reduces the bokeh effect, an aperture of f11 or f16 is recommended to produce the best quality.
Tip 5: Keep Things Simple
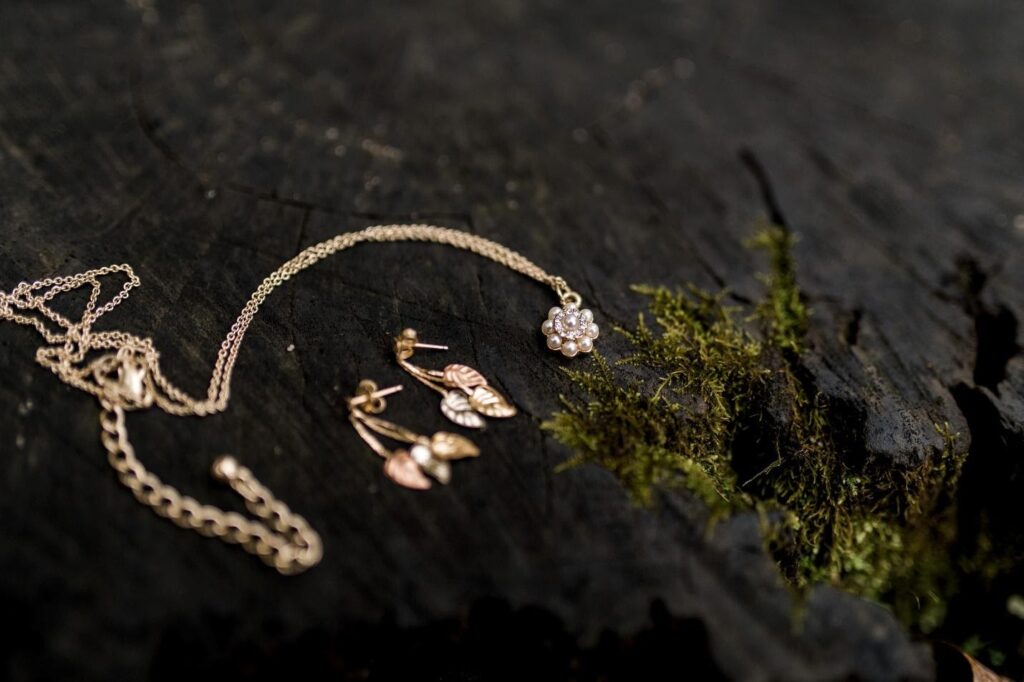
The simpler, the clearer, the better. That’s the concept of jewelry photography. Your gemstone is what you want to sell and that should be boldly shown by your background. Avoid any distraction that will take attention away from the product, that’s what colorful background does.
A plain white background keeps away any form of distraction and lets your customers focus on the real deal; your product. A reason why most reputable marketplace always recommends such. So you don’t need to be super creative, a plain white or light Gray is enough to stand out. Avoid overdoing visual branding when it comes to jewelry. It’s bad.
Conclusion
There’s one thing every great jewelry store have in common: captivating pictures. To rank amidst them, you will need to start taking great jewelry photos and the tips above are more than good as a head start. So, pick up your macro lens, on a sturdy tripod it goes, light up your setup, avoid the bokeh effect and keep things simple. That’s it.